November 26, 2015
by Anthony Shaw of Dimension Data
This tutorial will show you how to leverage the power of the StackStorm API to expose your fantastic new workflows built using the Flow (available to Enterprise Edition uses) by following one of the blogs.
In our fictional scenario, we have built 2 complex workflows.
We want to provide our technical operations team with a really simple UI where they can just click these buttons and we hide the magic behind the scenes.
First off, this is a tutorial for ASP.NET 4.5, MVC 5 and WebAPI 2.0, the latest Microsoft Web Development toolkit.
If you want to use another stack, you can follow the patterns here to repeat in another language.
Opening up Visual Studio (here I am using 2013, 2015 would also work), select the ASP.NET Web Application template
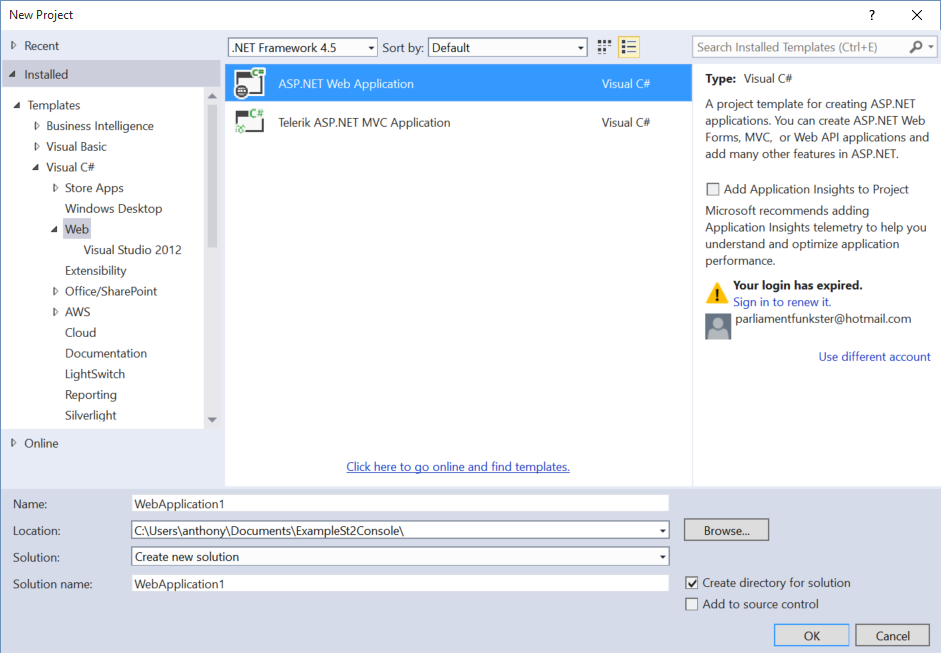
When prompted, pick out the Single Page Application option, this will install a whole smorgasbord of web-development tools.

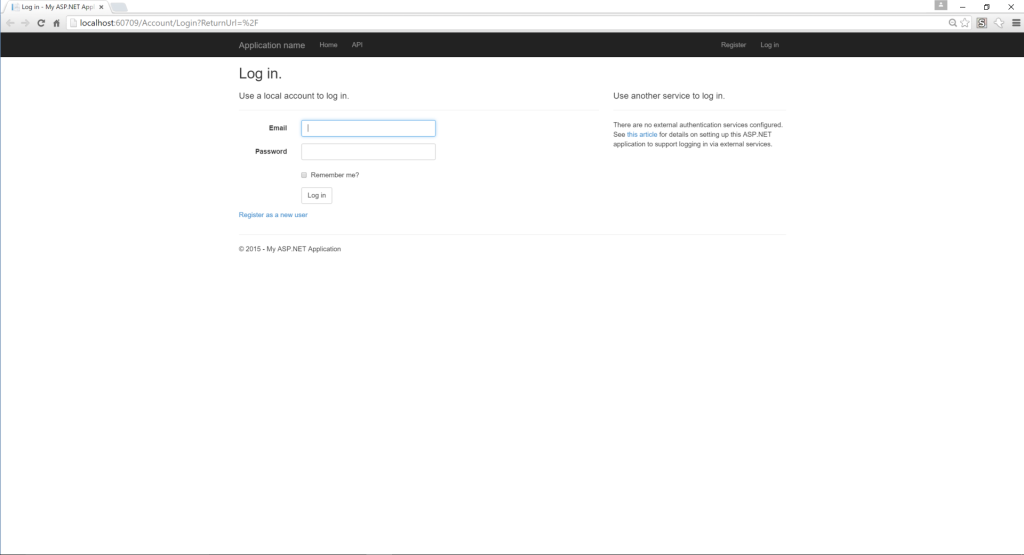
I’m not going to rely too heavily on these, but if you go ahead and press F5, it’ll present you with a login screen.
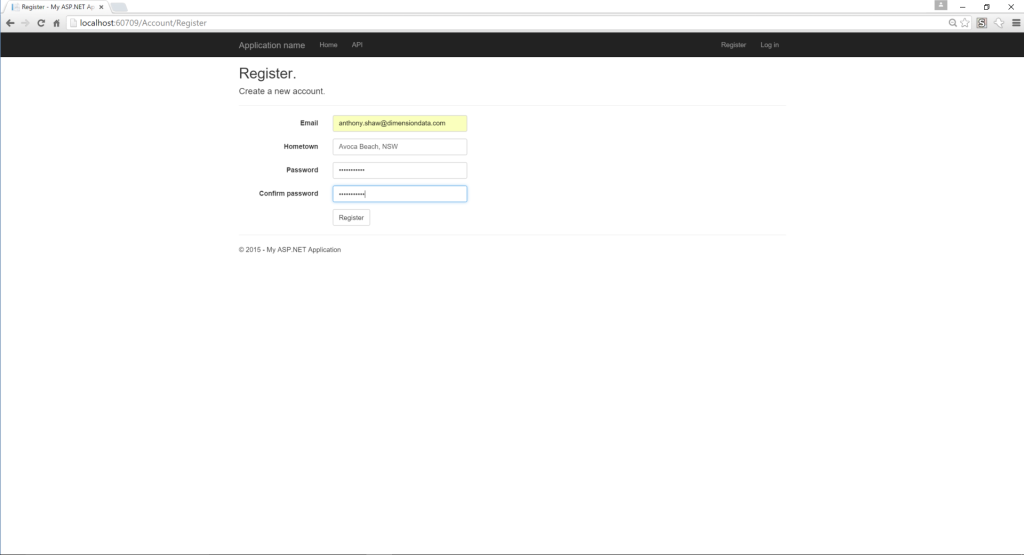
Inside the project Microsoft have already installed a user database and given you a registration system, so you can sign up to your new application by filling in your details.
If you want to replace this authentication mechanism with Active Directory (a more likely replacement in a large org), the provide detailed guides in the readme.
At the registration page, fill in some details to get yourself started with your application.
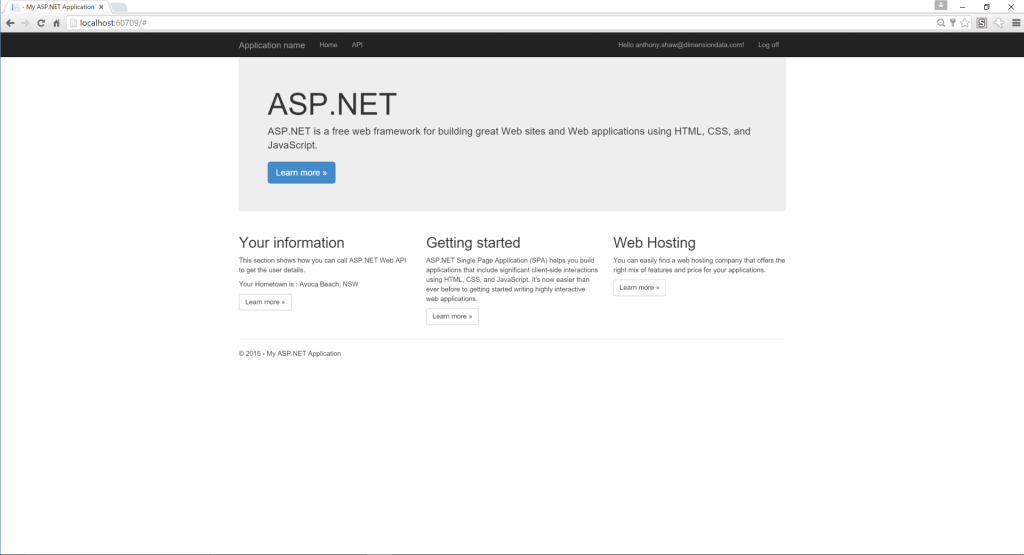
Now you’re logged in, you’re greeting with this rather useless welcome page.
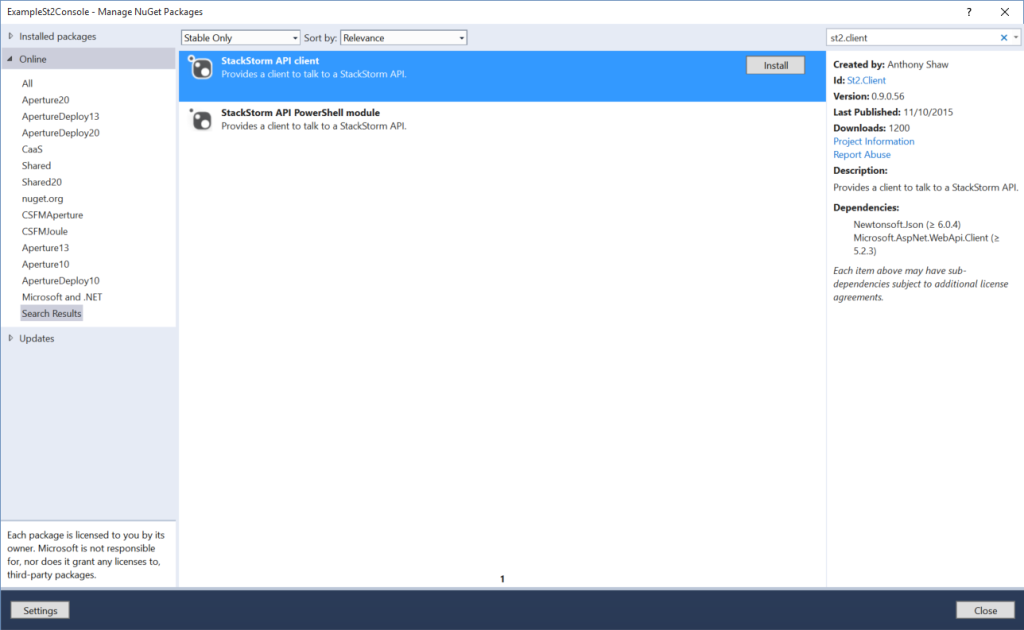
In Visual Studio, 3rd party packages are distributed via nuget.org. I’ve been sharing a nuget package for the StackStorm API so I’ll show you in this tutorial how to use it.
The package is available on nuget.org
To install the package into your project either use the Nuget Package Manager Console
Install-Package St2.Client
Or using the GUI you can search for St2.Client under the nuget.org repository and click install.
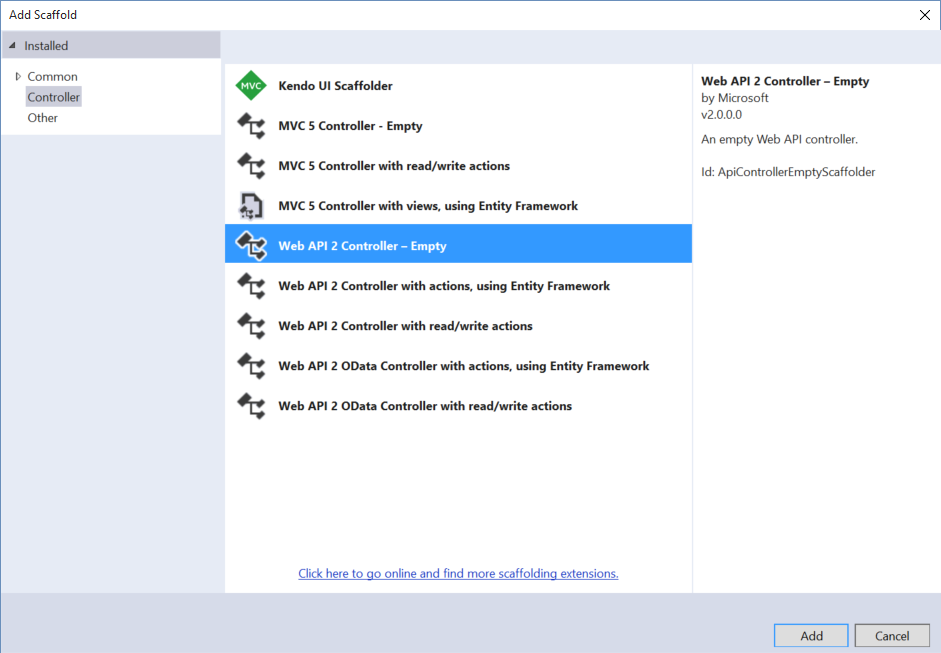
Now we want to setup a quick API to provide a basic function, so under your controllers directory, add a new controller called ActionController (it will run our actions)
Back in the StackStorm UI you will already have access to the Examples pack, under this pack you will see a complex workflow action called “examples.mistral-basic-two-tasks-with-notifications”.
That is going to be our first action, since it requires no inputs and works every time.

In ActionController.cs let’s write some code to call that workflow as a REST API.
using System.Collections.Generic;
using System.Threading;
using System.Threading.Tasks;
using System.Web.Http;
using System.Web.Http.Results;
using TonyBaloney.St2.Client;
using TonyBaloney.St2.Client.Models;

namespace ExampleSt2Console.Controllers
{
    [RoutePrefix("api")]
    public class ActionController : ApiController
    {
        private St2Client _st2Client;
Now, you want to connect to the StackStorm API, so fill in these details of your server. In production you would most likely use an IoC container and inject an ISt2Client instance based on a configuration file, but I’m not going to bore you with how to do that now.
public ActionController()
{
    _st2Client = new St2Client(
        "https://10.209.120.21:9100", // Auth URL
        "https://10.209.120.21:9101", // API URL
        "admin",
        "DevAdmin123",
        true); // ignore certificate validation - if using self-signed cert
}
If you did you and setup a proper certificate when you installed StackStorm, set that last parameter to false.
Now, create a WebAPI action method to engage the tractor beam.
       [Route("tractor/engage")]
        [HttpPost]
        public async Task<JsonResult<Execution>> EngageTractorBeam()
        {
            // Get a sign-on token
            await _st2Client.RefreshTokenAsync();

            // Any parameters needed for our action
            Dictionary<string, object> actionParameters = new Dictionary<string, object>();

            // Run our action
            var result = await _st2Client.Executions.ExecuteActionAsync(
                "examples.mistral-basic-two-tasks-with-notifications",
                actionParameters);

            return Json(result);
        }

    }
}
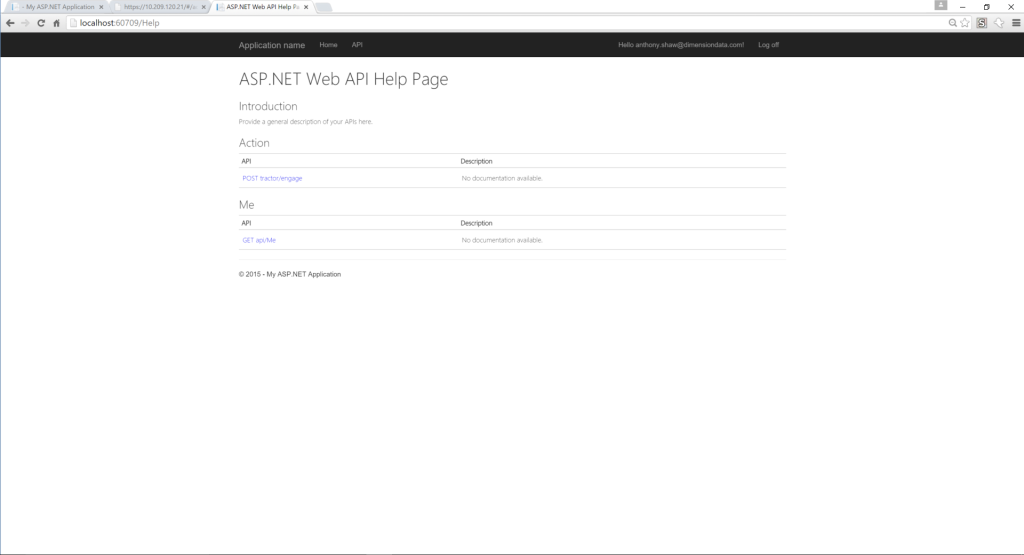
Now, debug your application by pressing F5 and go to the API link at the top, you’ll see that WebAPI has documented your new method, so you know it works.
Back in Visual Studio, edit the home page contents (Views/Home/_Home.cshtml) to add a link to a function.
<!-- ko with: home -->
<div class="jumbotron">
<h1>Rebel Alliance Operations Dashboard</h1>
<p class="lead">This is a dashboard for the technical operations team in the rebel alliance.</p>
<p><a href="http://starwars.net" class="btn btn-primary btn-lg">Learn more »</a></p>
</div>
<div class="row">
<div class="col-md-6">
<h2>Ship Engagement</h2>
<p>Actions related to foreign ship engagement.</p>
<p data-bind="text: myHometown"></p>
<p><a data-bind="click: engageTractorBeam" class="btn btn-default" href="#">Engage Tractor Beam »</a></p>
</div>
...
</div>
<!-- /ko -->
Now in Scripts/app/home.viewmodel.js if you edit the file and add our action to call the API.
function HomeViewModel(app, dataModel) {
    var self = this;

    self.myHometown = ko.observable("");

    Sammy(function () {
        this.get('#home', function () {
            // Make a call to the protected Web API by passing in a Bearer Authorization Header
            $.ajax({
                method: 'get',
                url: app.dataModel.userInfoUrl,
                contentType: "application/json; charset=utf-8",
                headers: {
                    'Authorization': 'Bearer ' + app.dataModel.getAccessToken()
                },
                success: function (data) {
                    self.myHometown('Your Hometown is : ' + data.hometown);
                }
            });
        });
        this.get('/', function () { this.app.runRoute('get', '#home') });
    });

    self.engageTractorBeam = function() {
        $.ajax({
            method: 'post',
            url: '/api/tractor/engage',
            contentType: "application/json; charset=utf-8",
            headers: {
                'Authorization': 'Bearer ' + app.dataModel.getAccessToken()
            },
            success: function (data) {
                alert('engaged!');
            }
        });
    }
    ...
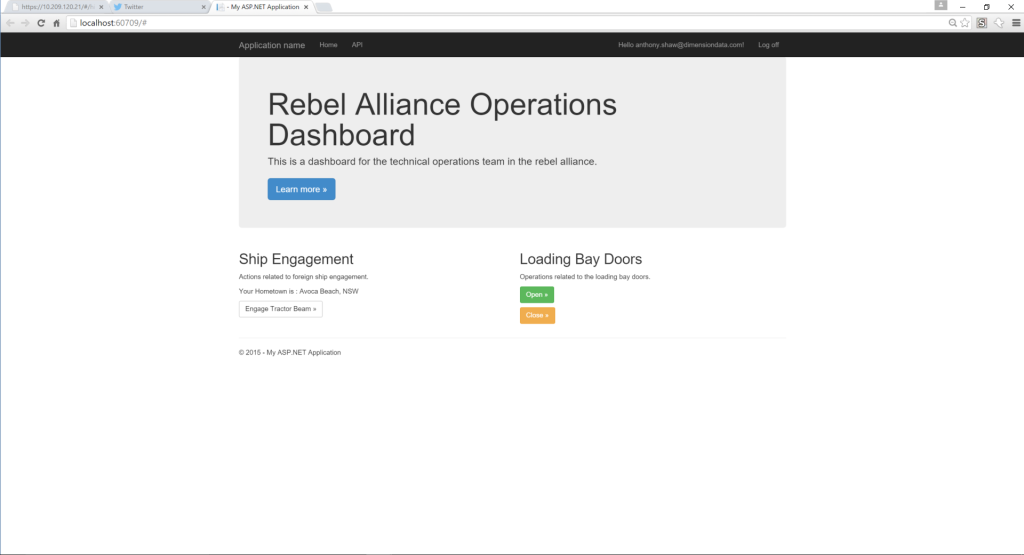
Hit F5 then you’ll see we have our nice dashboard
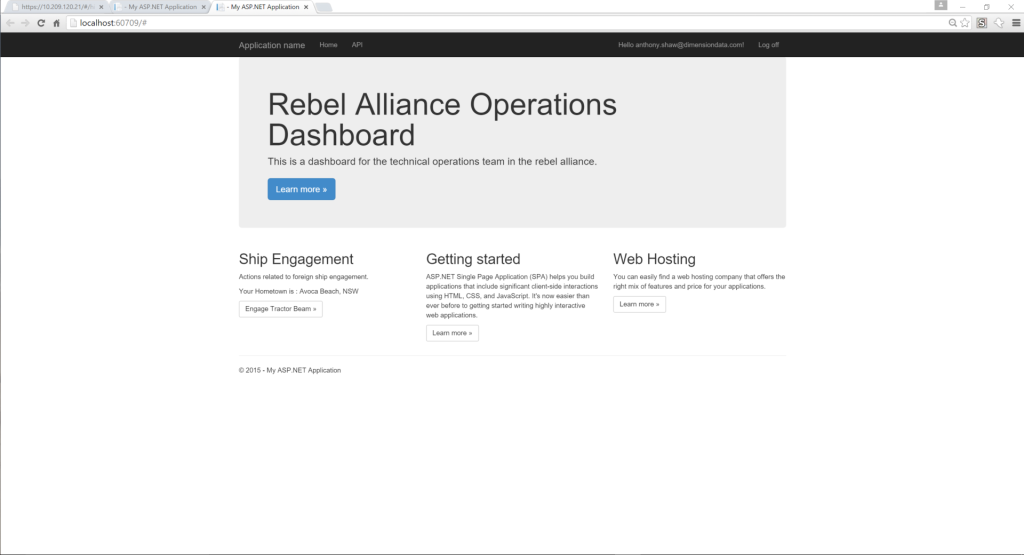
and click that button to engage the tractor beam.
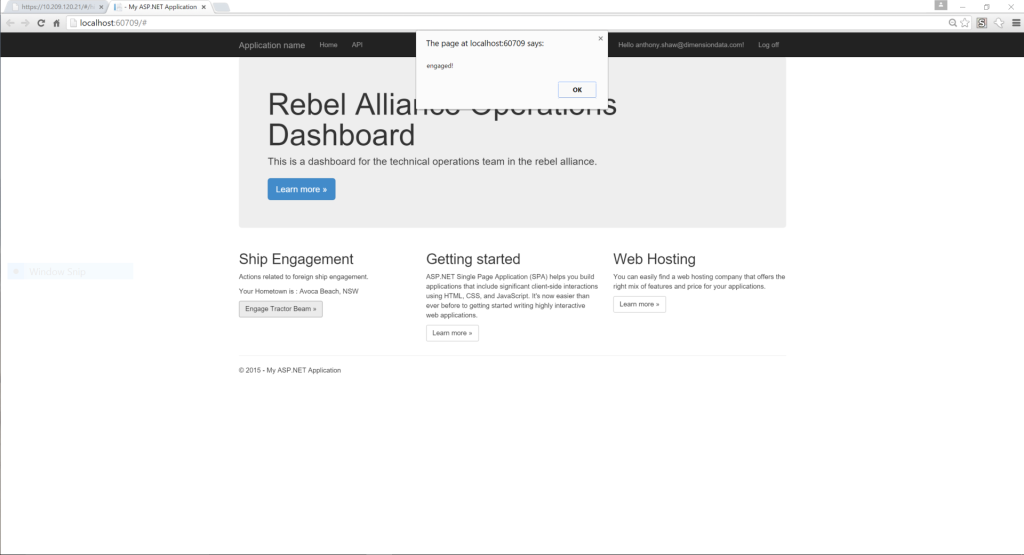
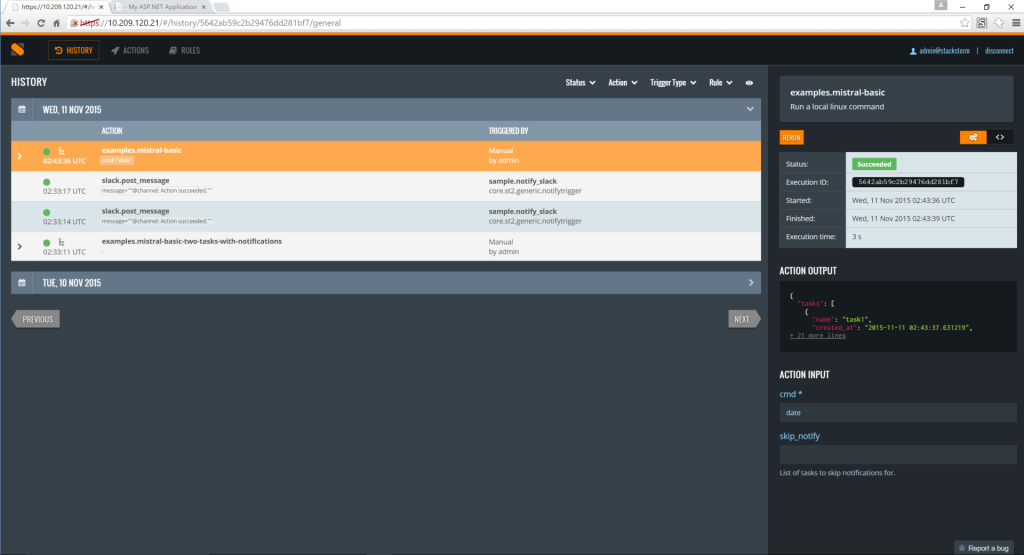
There it goes, now let’s checkout the StackStorm UI and make sure that actually ran our workflow. In the history window you’ll see it. Check out the output and make sure it was successful.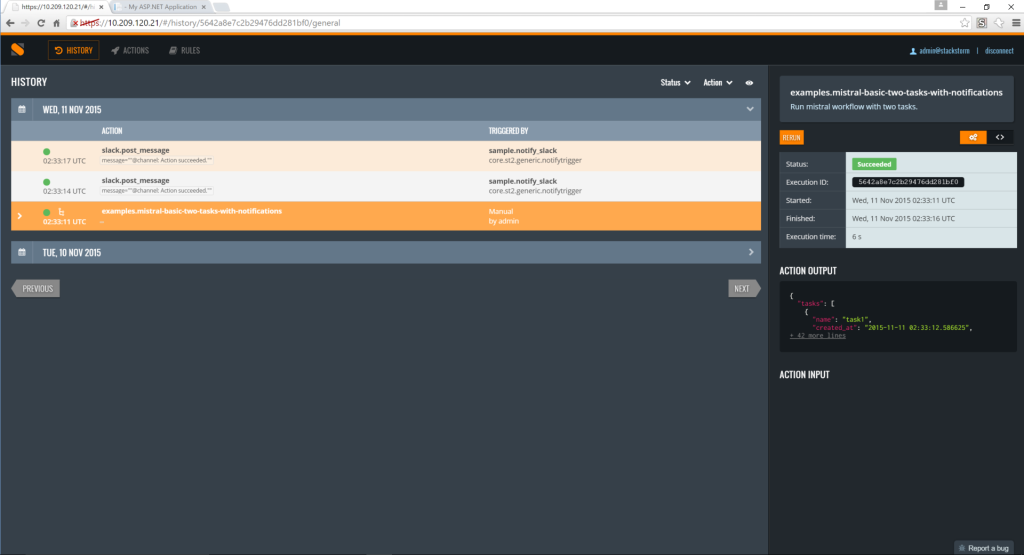
Let’s work on a more complex example, we have an action, “exampes.mistral-basic” that requires a parameter, cmd, which is the command to run.
Let’s use that command to open and close our loading bay doors
...
<div class="col-md-6">
<h2>Ship Engagement</h2>
<p>Actions related to foreign ship engagement.</p>
<p data-bind="text: myHometown"></p>
<p><a data-bind="click: engageTractorBeam" class="btn btn-default" href="#">Engage Tractor Beam »</a></p>
</div>
<div class="col-md-6">
<h2>Loading Bay Doors</h2>
<p>
Operations related to the loading bay doors.
</p>
<p><a data-bind="click: openLoadingDoors" class="btn btn-success" href="#">Open »</a></p>
<p><a data-bind="click: closeLoadingDoors" class="btn btn-warning" href="#">Close »</a></p>
</div>
...
Back in the view model, call the new API methods to include a data in the POST message with the desired door state.
...
self.openLoadingDoors = function () {
    $.ajax({
        method: 'post',
        url: '/api/doors/set',
        headers: {
            'Authorization': 'Bearer ' + app.dataModel.getAccessToken()
        },
        data: '=open' ,
        success: function (data) {
            alert(data.status);
        }
    });
}
self.closeLoadingDoors = function () {
    $.ajax({
        method: 'post',
        url: '/api/doors/set',
        headers: {
            'Authorization': 'Bearer ' + app.dataModel.getAccessToken()
        },
        data: '=close',
        success: function (data) {
            alert(data.status);
        }
    });
}
...
Then finally we’ll add our new API action controller
...
[Route("doors/set")]
[HttpPost]
public async Task<JsonResult<Execution>> SetDoorState([FromBody]string state)
{
    // Get a sign-on token
    await _st2Client.RefreshTokenAsync();
Now you need to assemble the collection of parameters for the action, this is a dictionary for convenience
// Any parameters needed for our action
// NB: This is really really really insecure. Just an example!
Dictionary<string, object> actionParameters = new Dictionary<string, object>
{
    {"cmd", "echo 'Setting doors to " + state + "'"}
};
Then run the action using the same function as before.
// Run our action
Execution result = await _st2Client.Executions.ExecuteActionAsync(
    "examples.mistral-basic",
    actionParameters);

string executionId = result.id;
This time, instead of just firing back the execution reference, let’s wait for it to finish.
    // Wait to complete.
    while (result.status == "running" || result.status == "requested")
    {
        result = await _st2Client.Executions.GetExecutionAsync(executionId);

        Thread.Sleep(20);
    }

    return Json(result);
}
Now hit F5 and test it out. Click Open to test the function..
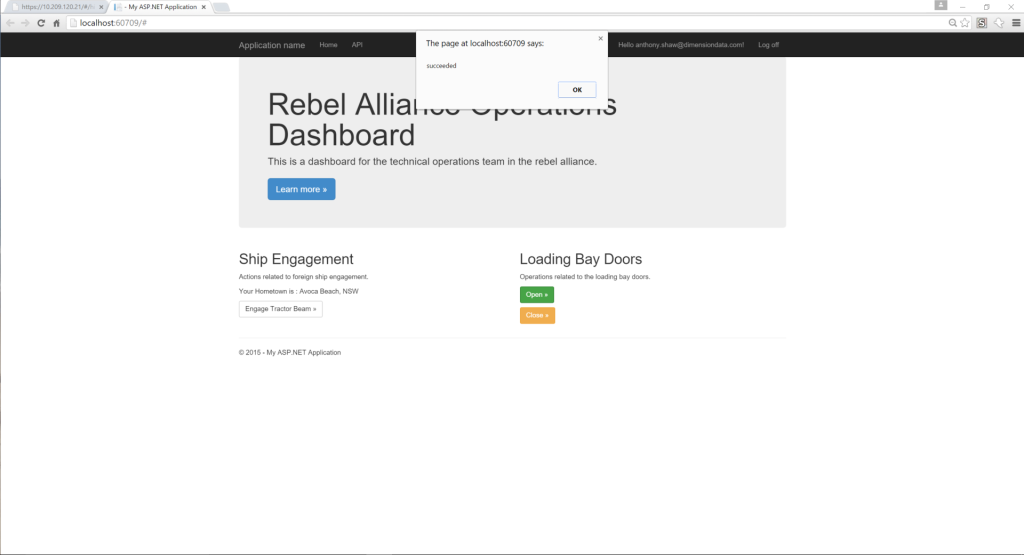
Check in StackStorm UI to make sure it succeeded.
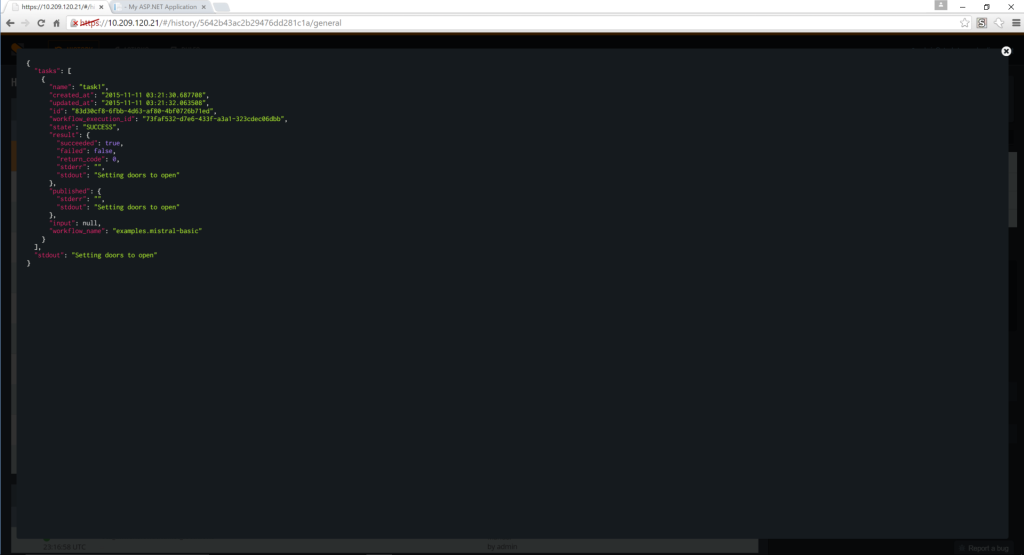
And if you expand the result data on the right-hand panel you can see the full result.
This toolkit gives you a way of interfacing with StackStorm from .NET, if you’re using PowerShell or want to script these actions, checkout my PowerShell command library for StackStorm on powershellgallery.com
Happy hacking.
p.s. StarWars is copyright of LucasFilm/Disney.